6 Easy Steps to Coloring Your Hair at Home
Writing color on hair at home can seem like an overwhelming task, especially if you’ve never done it before. However, with these simple steps, anyone can do it at home! Before coloring your hair at home, make sure you’re using the right tools and products to avoid disastrous results. With the right equipment and supplies, though, you can easily apply color to your hair at home and enjoy beautiful new locks in no time! Here are six easy steps to coloring your hair at home.
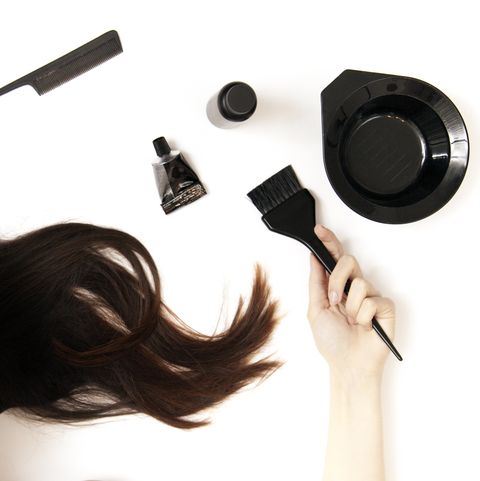
Step 1: Preparation

Before you start, it’s important to do a little bit of prep work. First, decide what color you want to use. Once you have an idea in mind, gather all the supplies you’ll need, including gloves, a brush, hair color, and developer. It’s also a good idea to do a patch test on a small section of your skin before applying the color to your hair, just to be sure you’re not allergic.
Next, it’s time to gather all your supplies. Make sure you have gloves, a brush, color and developer before getting started. It’s also important to do a patch test on a small section of your skin before applying color—just in case you’re allergic. While many brands do offer allergy-test strips that you can use right in front of their product, these aren’t foolproof. If you find out you have an allergy on your skin rather than in an allergy test strip, it may be too late.
Step 2: Developer
Pick a developer that is within two shades of your current color. This will help ensure that your hair color turns out looking cool and stylish, rather than over-the-top or brassy.
Always remember that cool and stylish starts from within. Therefore, make sure you choose a hair color with an ash tone base—ash tones are cool tones. Gold, honey and beige shades will help you avoid looking brassy or unnatural.
Avoid hair color kits that contain ammonia and peroxide. The combination of both chemicals can damage your hair beyond repair, causing dryness, breakage and even hair loss. Ammonia is a known cancer-causing agent that can also burn your scalp and throat. Additionally, too much exposure to peroxide can weaken your hair over time.
Step 3: Color Mixing
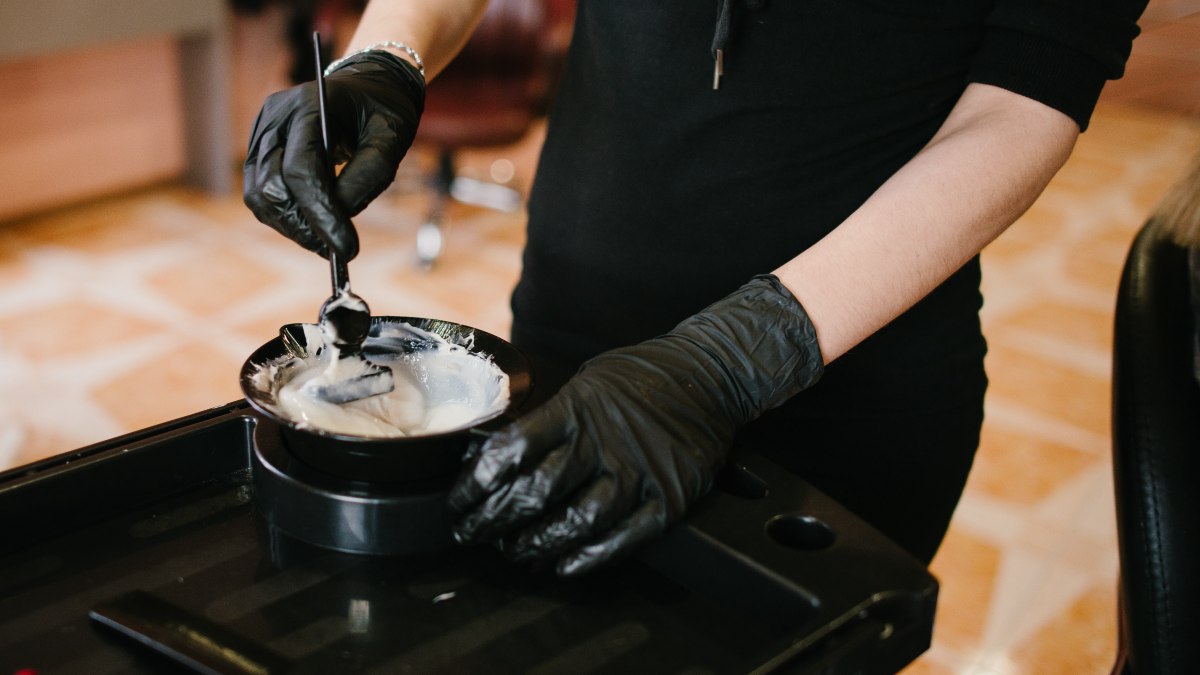
Now that you have your base color and highlight color mixed, it’s time to apply the color to your hair. Starting with the base color, take small sections of hair and brush the color onto each section. Be sure to use a light hand so you don’t end up with any unwanted streaks. Once you’ve applied the base color, move on to the highlights. Again, take small sections of hair and brush the highlight color onto each section. Remember to be careful not to overdo it – you want your highlights to be subtle and stylish.
Now that you’ve mixed your hair color, it’s time to apply it! There are three main ways to do so: 1) in a bowl, 2) directly onto your hair, or 3) in a bottle. Each method has its pros and cons. When coloring your hair in a bowl (which is what we did), you’ll have better control over how much product goes into your hair as opposed to when you’re applying directly onto your hair or putting it into a bottle. On the other hand, if you’re doing multiple colors and using dark dyes for one of them, using direct application can lead to less mess than mixing everything together beforehand.
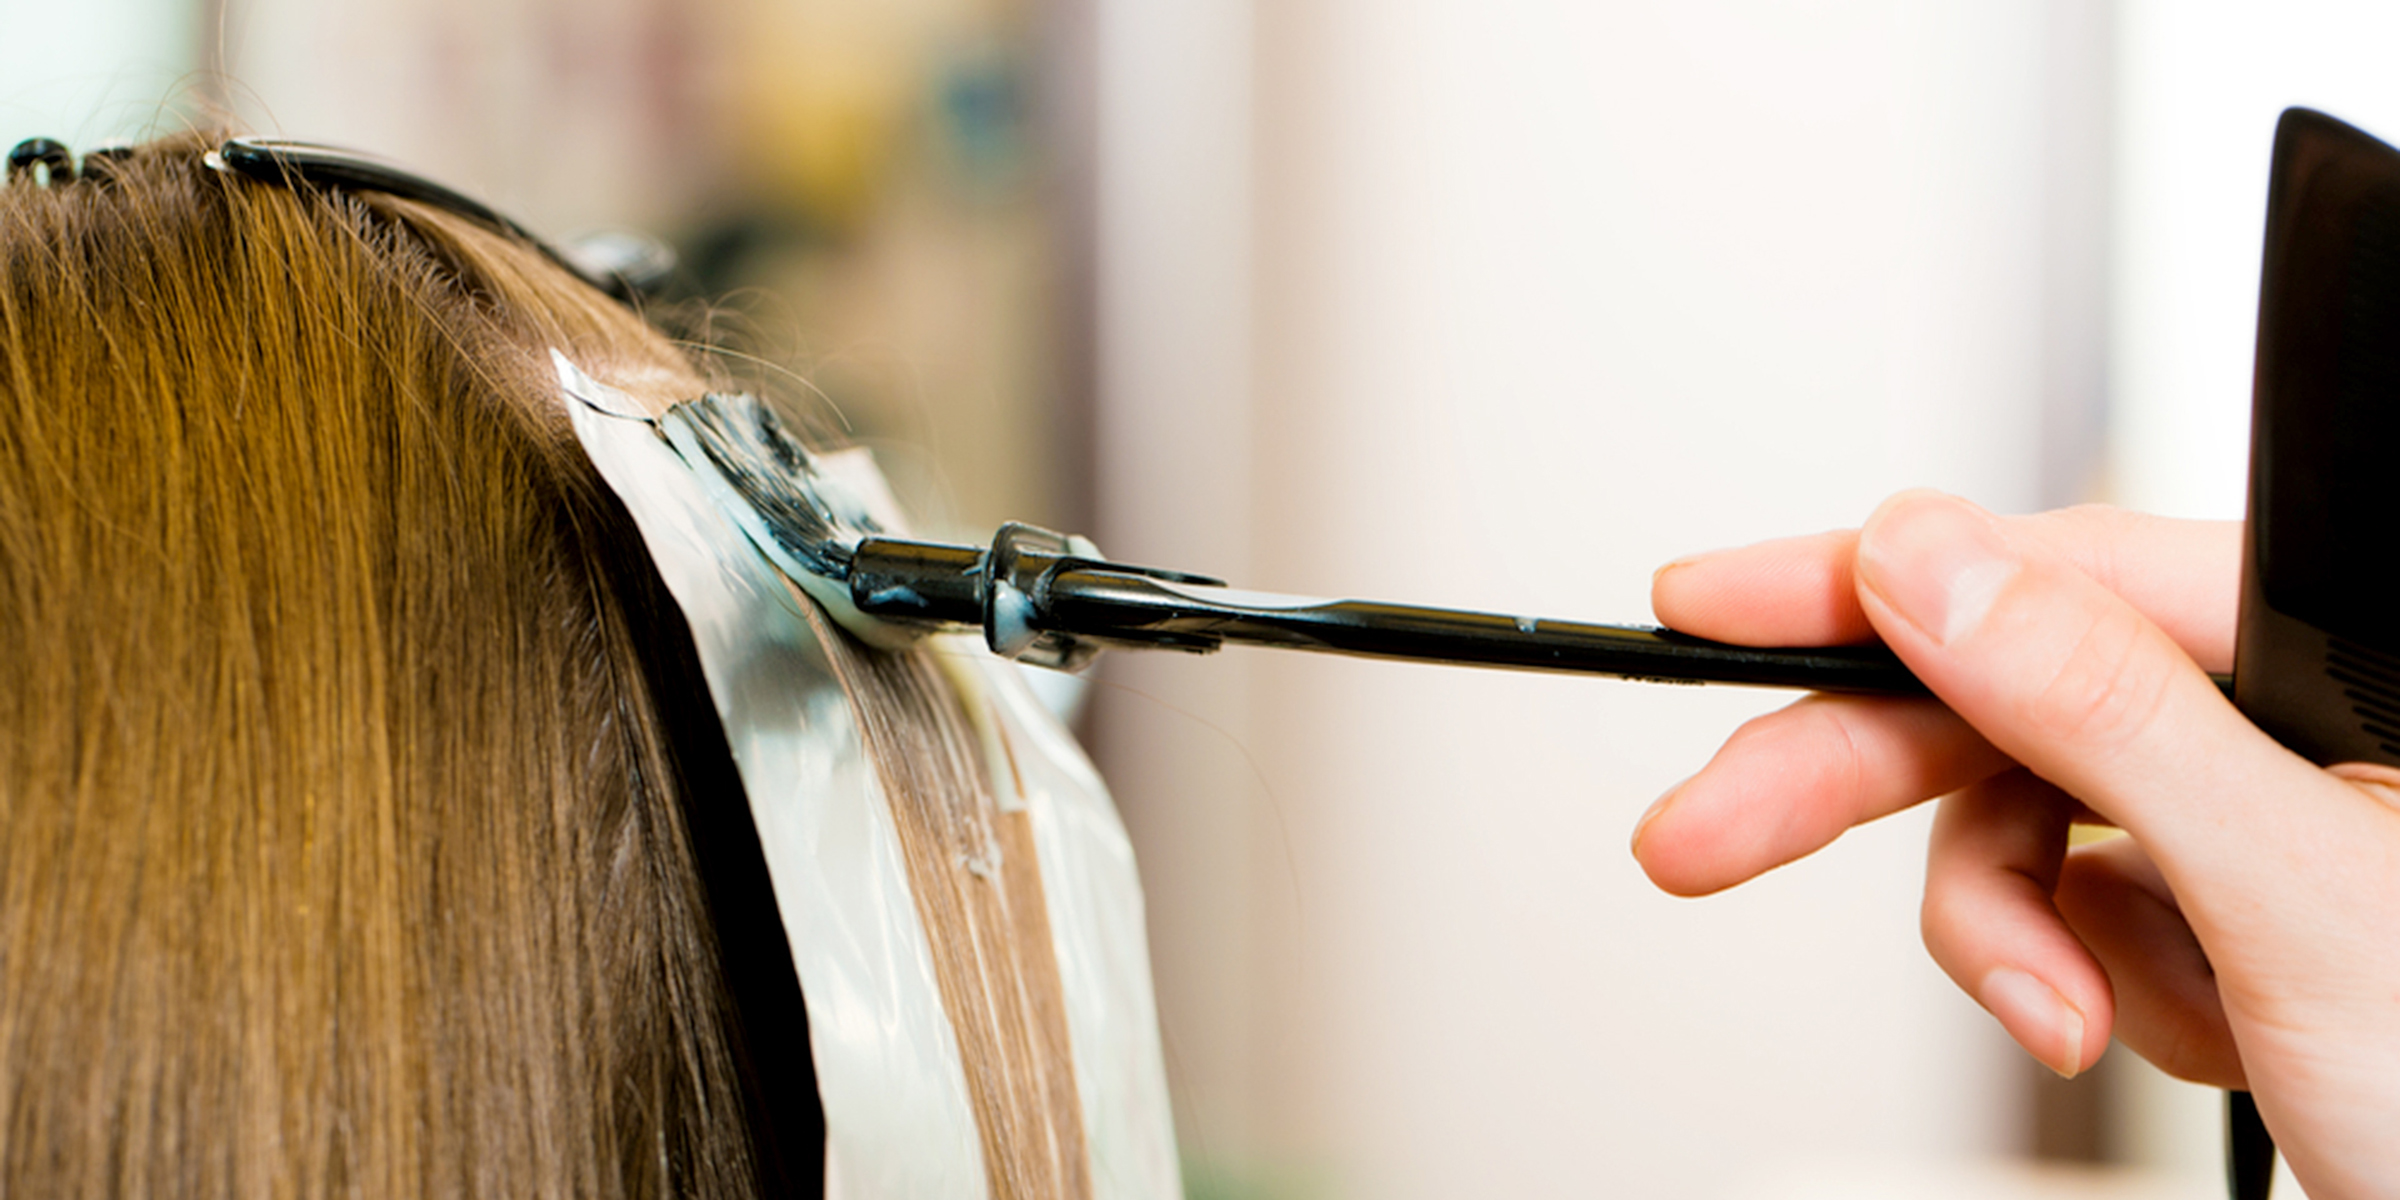
Step 4: Application

Now that you’ve prepped your hair and selected your color, it’s time to apply it! To start, put on the gloves that came with your hair color kit. Then, using the applicator brush, apply the color evenly through your hair, starting from the roots. Be sure to saturate each strand of hair; you may need to go over some sections a few times. Once you’ve covered all of your hair, comb it through with your fingers to make sure the color is distributed evenly.
For darker shades, you can leave it on for up to 30 minutes. For lighter shades, try leaving it on for no more than 20 minutes. But remember, if you’re changing your hair color drastically from its natural state, you may want to add extra time in case some of your hair ends up being more resistant than others. Also, be sure to check and see if your hair dye kit has any specific instructions regarding timing.
Step 5: Rinse, Shampoo and Conditioner
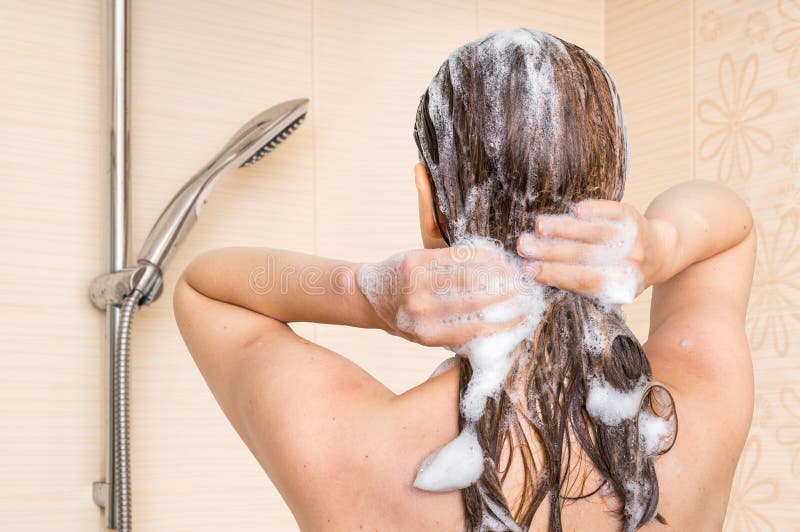
Now that all the color has been applied, it’s time to rinse your hair. Be sure to use cool water so you don’t damage your hair. Start by rinsing until the water runs clear, then shampoo and condition as you normally would.
It’s important that you don’t shampoo or condition your hair for a few hours. This is to ensure that your new color develops fully. Use a wide-tooth comb to brush through your hair once it has dried, and spray on some leave-in conditioner if you have any. You can now reveal your new look in all its glory.
After you have completed these steps, it’s time to reveal your new look. When you’re ready, comb through your hair using a wide-tooth comb and spray on some leave-in conditioner if desired. It can be hard to predict how your hair will turn out when first coloring it, so don’t worry if it looks different than expected. You can always re-apply more color or touch up certain sections of your hair until you get a result that satisfies you.
Step 6: Style
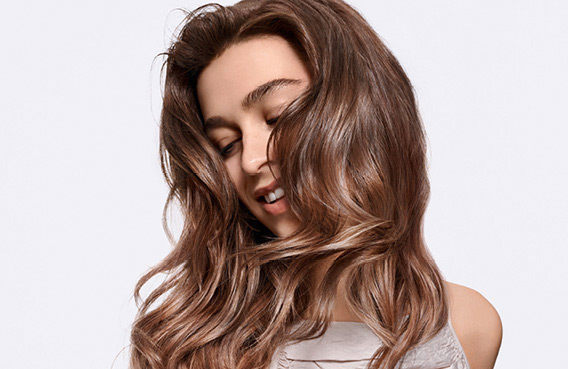
After you’ve colored your hair, you’ll want to style it to help seal in the color and protect your hair from heat damage. Use a color-safe shampoo and conditioner, and avoid washing your hair too often. When you do wash it, use cool or lukewarm water. Let your hair air dry whenever possible, and use a heat protectant when you have to use hot tools.
There are many home hair coloring kits available, which work by depositing pigment onto your hair shaft, but there’s an important difference between doing it yourself and getting a professional to do it. Professional coloring will be quicker and use fewer chemicals than dyeing your own hair. A good hairdresser will also know how to color your hair so that you won’t need to repeat the process too soon. But unless you want bold colors or lighter highlights, stick with a salon if you want consistent results.