
8 Steps for Curling Your Eyelashes Like a Pro
Avoid the lash curler accident and learn how to curl your eyelashes like a pro with these eight simple steps. Even if you’re an eyelash curling novice, these steps will help you use your lash curler like an expert in no time. By the end of this article, you’ll be ready to show off your curled lashes and have others asking how you did it!
1) Prep your lashes with a light coat of mascara

Before you start curling your lashes, it’s important to prep them with a light coat of mascara. This will help the lashes hold the curl and prevent them from drooping throughout the day. Plus, it will give your lashes some extra volume and thickness.
If you have naturally long lashes, you might want to curl them anyway just to give them more definition. It’s important to never curl your lashes when they’re wet, though, as it can damage your lashes. Remember that mascara acts as a protective layer on top of your eyelashes, and you don’t want to mess with its magic. Instead, wait at least 30 minutes after applying mascara before curling them.
If you’re going to curl your lashes with an eyelash curler, just press it lightly against your lashes. Once you’ve curled one set of lashes, take a break and let them cool down. Give your eyelid 10 to 15 seconds before repeating on another set of lashes, as too much heat can cause them to fall out. The time between sets depends on how warm they get, but try not to leave them on for more than 60 seconds or so. If you can’t tell if they’re hot enough by feeling them with your finger, wait even longer between curls until they are cool enough not to burn you.
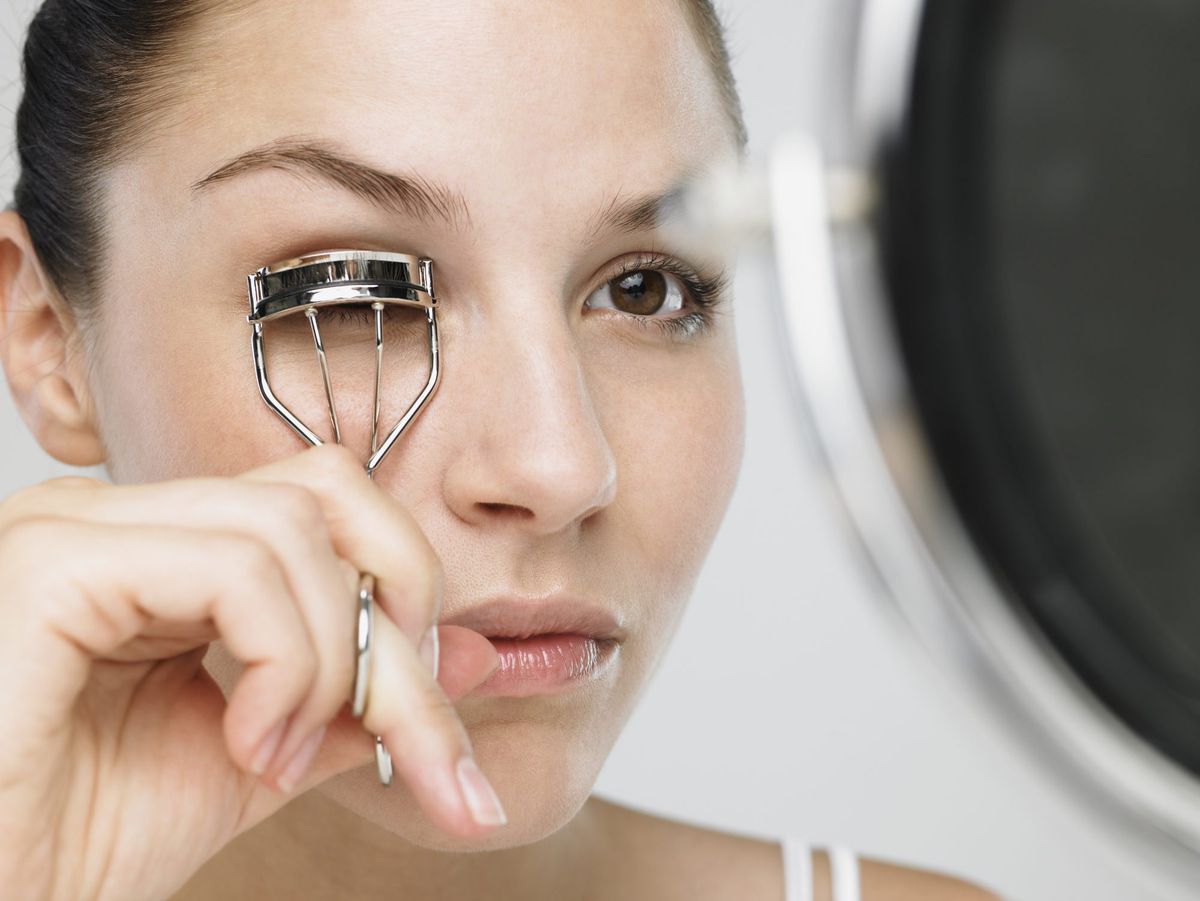
2) Use an eyelash curler in the proper way
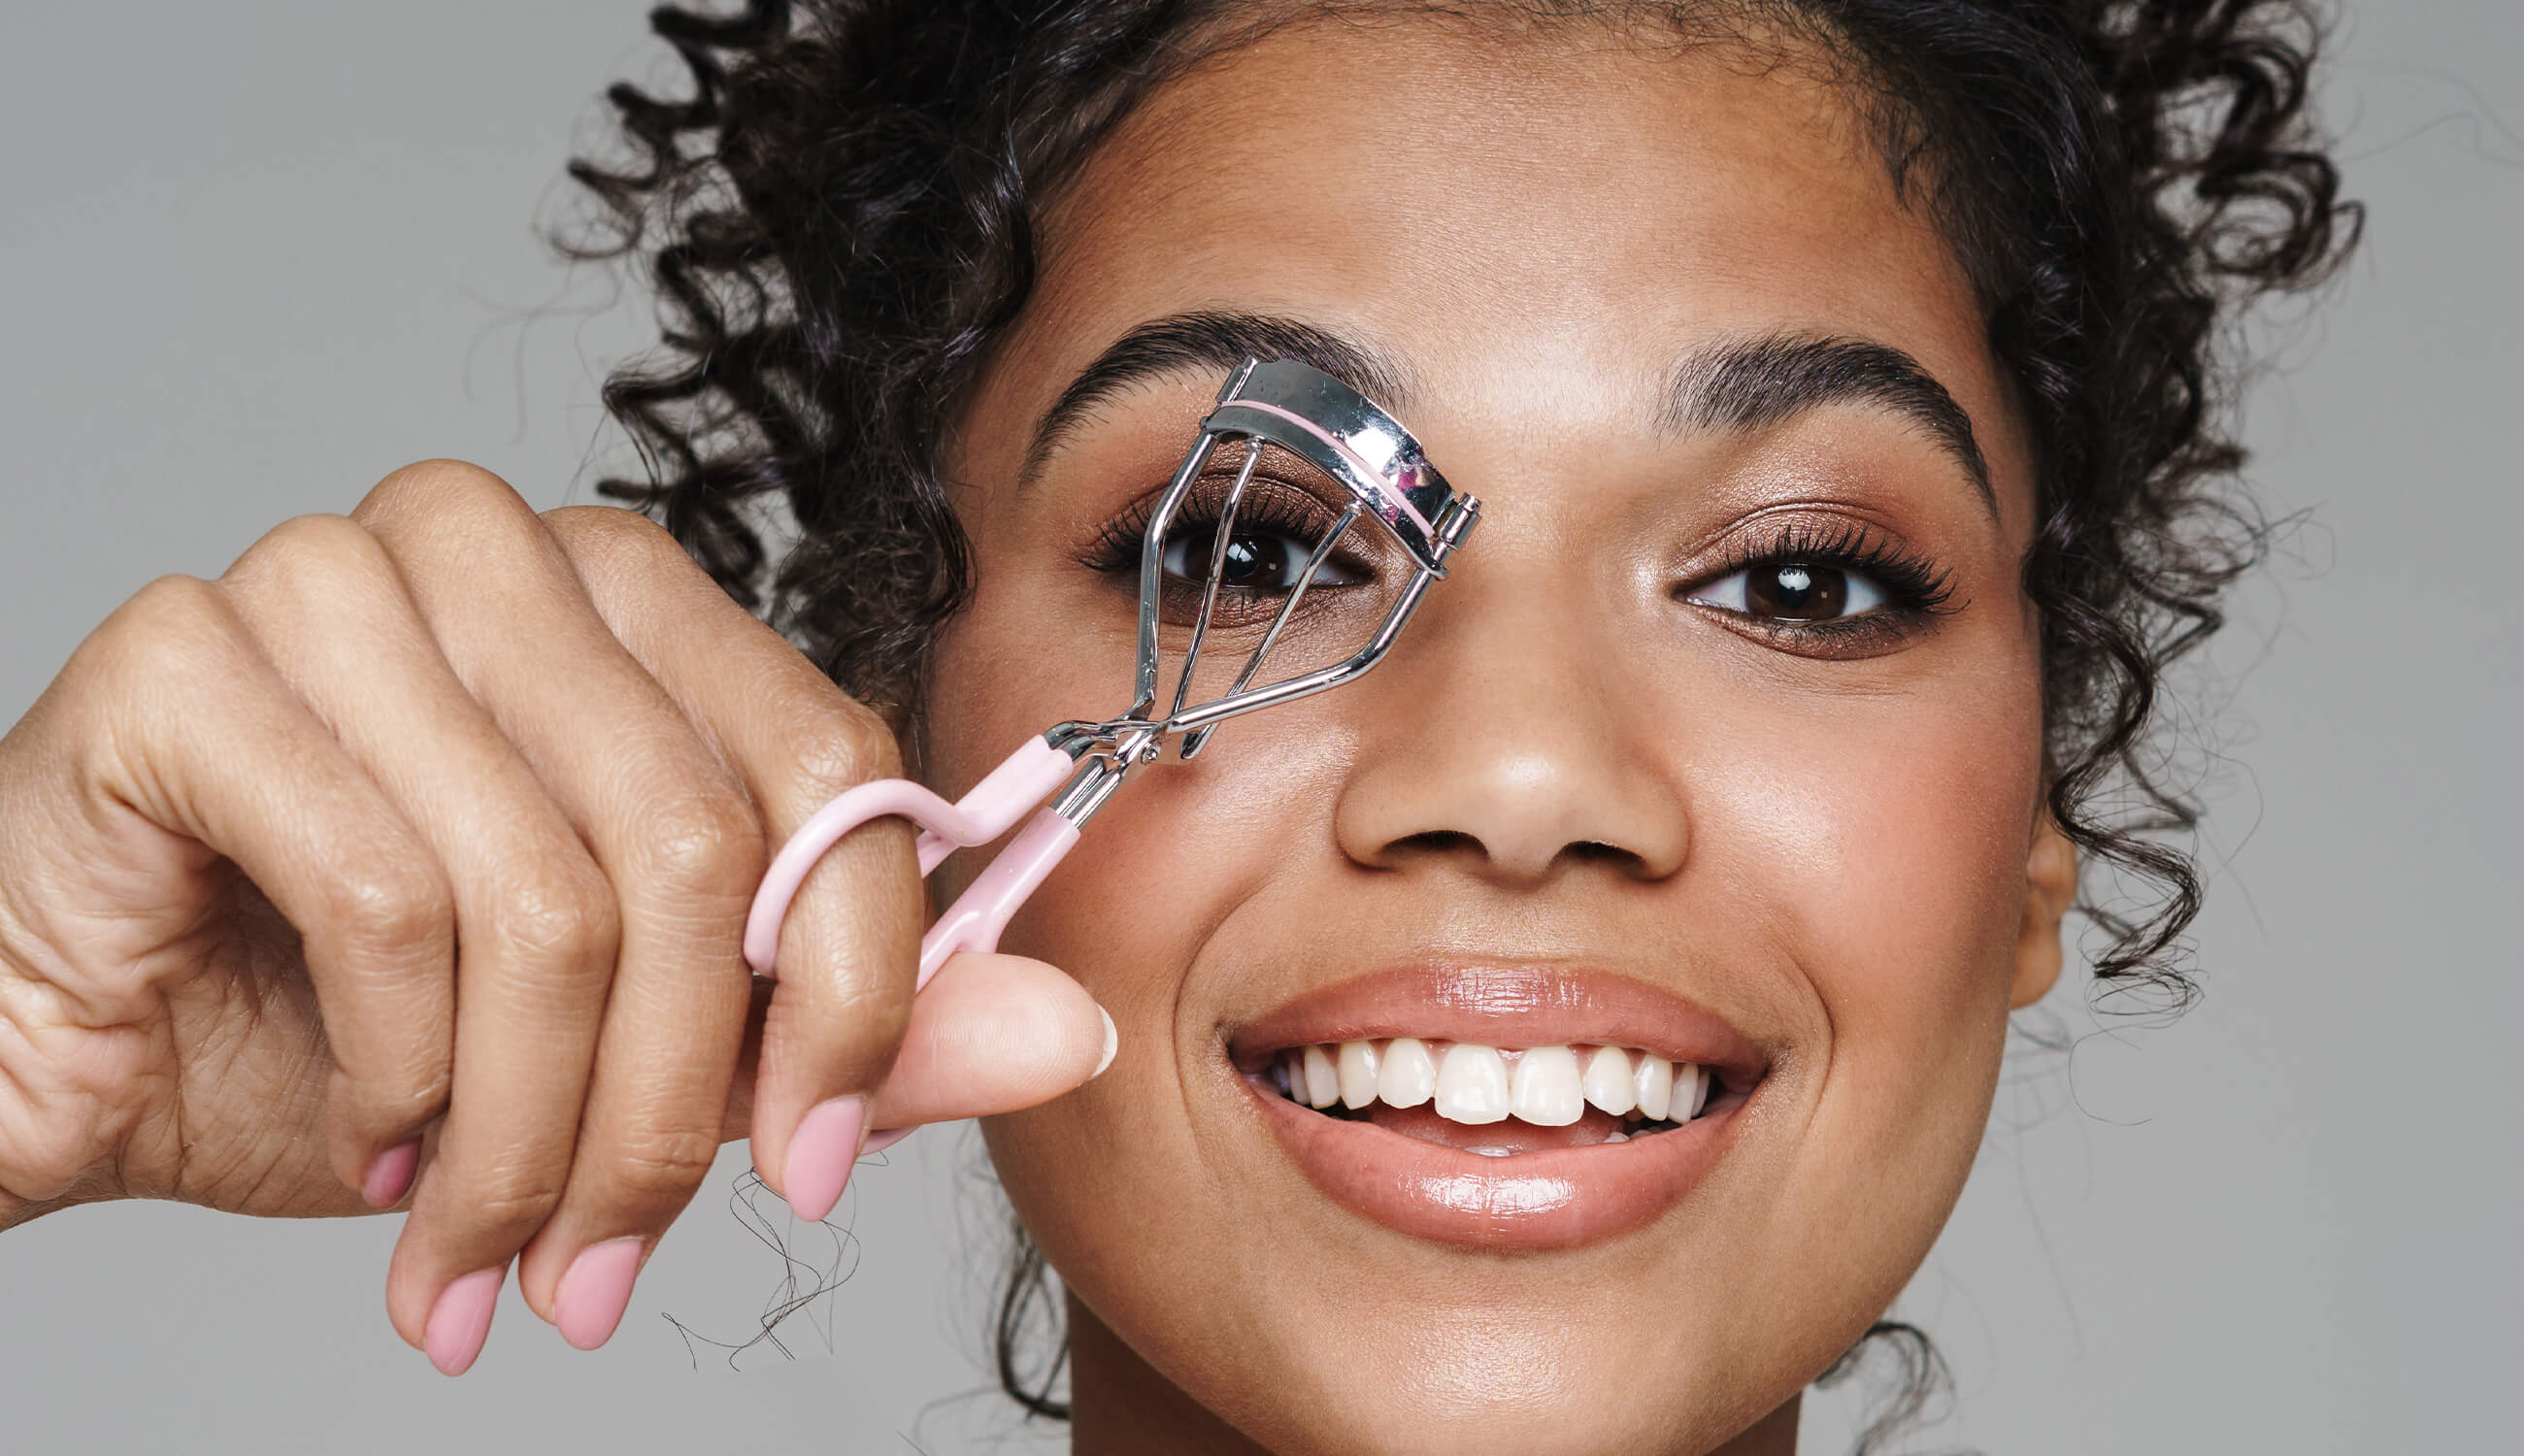
An eyelash curler can help give your lashes a beautiful, stylish, and elegant curl. But using an eyelash curler correctly is important to avoid damaging your lashes.
3) Curl just the lashes you want curled

To get a more natural look, only curl the lashes you want to curl. For example, if you want to focus on your upper lashes, only curl the lashes on your upper lid. This will give you a more beauty, stylish, and elegant look.
Don’t get overzealous when curling your lashes. Just like applying mascara, you want to apply very light pressure. If you press too hard, you can easily damage your lashes or even your eyes! The correct amount of pressure is just enough to hold your eyelash curler in place. Use short strokes and move quickly from base to tip on each lash. You should be able to see small amounts of mascara coming off on each curl—this means it’s working.
4) Apply primer before mascara
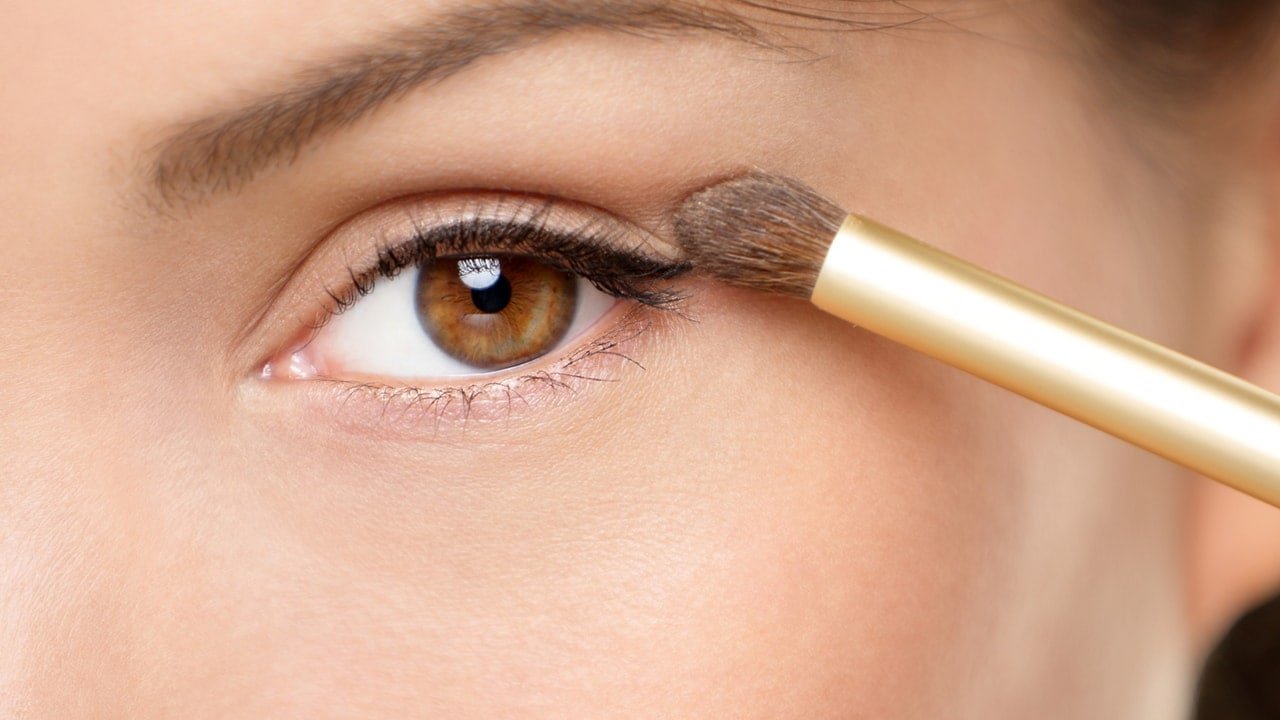
Applying primer before mascara can help your lashes look longer, healthier, and prevent them from getting clumpy. Plus, it can help your mascara last longer throughout the day. Here are seven steps to follow when applying primer to your lashes:
1.Start with clean, dry lashes.
2.Apply a thin layer of primer to your lashes, from root to tip.
3.Let the primer dry for a minute or two.
4.Apply your mascara in a zig-zag motion, starting at the base of your lashes and moving up.
5.Let the mascara dry for a minute or two before curling your lashes.
6.Starting at the base of your lashes, use an eyelash curler (holding firmly) and clamp down on one side of your lash line.
7.Repeat on the other side of your lash line – make sure not to pull too hard as this could damage your lashes.
5) Be careful not to pull your skin as you curl
Pulling your skin while you curl your lashes can cause long-term damage, so be careful! Instead, hold the curler close to the base of your lashes and gently squeeze. Hold for a few seconds, then release. Repeat until you’ve achieved the desired curl.
Make sure to curl your lashes before you apply mascara. Applying mascara before curling can cause excess clumping and make it harder to properly curl your lashes. When applying mascara, try to hold the brush horizontally so that you’re coating each lash evenly from root to tip. When you’re finished with mascara, give your eyelashes one last curl for good measure! Always remember: pull softly! While lashes do need to be curled at an angle, pulling too hard can damage their fragile roots and cause long-term damage. Instead, gently squeeze at an angle as close to your lash line as possible and hold for several seconds before releasing.
6) Apply two coats of mascara for great volume and long-lasting curl

Before you start curling your lashes, make sure you have the right tools. You’ll need an eyelash curler and some mascara. Start with clean, dry lashes. Then, apply two coats of mascara to your lashes, letting each coat dry before applying the next. This will help give your lashes some volume and hold the curl better.
After you’ve curled your lashes, go over them one more time with mascara. This coats your lashes in another layer of product and helps to lock in your curl. For best results, let it dry completely before applying any more makeup. Then apply some face powder or concealer over your eyes to help set and keep your curl. Finally, you can top off all of your eye makeup with an eyeshadow or eyeliner application to really complete the look. If you want to do even more styling, try curling each individual lash with an eyelash curler for added drama and volume!
7) Finish with some hairspray to hold it all in place
Now that you know how to curl your eyelashes like a pro, it’s time to finish with some hairspray. Here are a few tips:
1. Hold the can about six inches away from your head and spray in short bursts.
2. Be sure to get all of your lashes, including the tiny ones in the inner and outer corners of your eyes.
3. Let the first coat of hairspray dry for a few seconds before applying a second coat.
4. When you’re finished, lightly run your fingers over your lashes to help set them in place.
8) Carefully clean up any messes created by the mascara wand
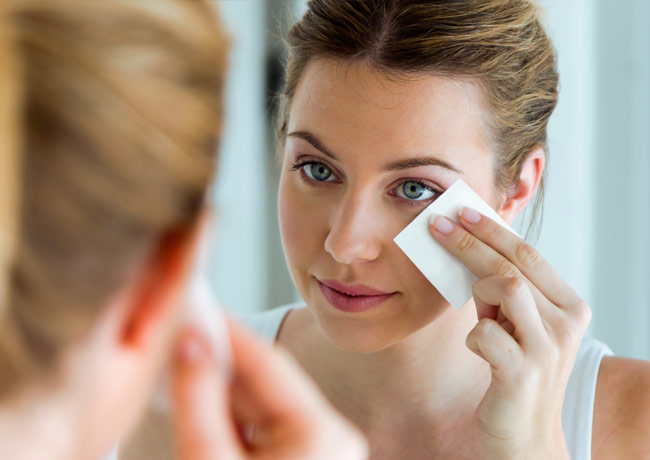
Carefully clean up any messes created by the mascara wand. Use a cotton swab dipped in makeup remover to tidy up any smudges on your skin. Next, use the curler itself to gently press down and hold for a few seconds. Finally, release the pressure and repeat until you’re satisfied with the curl.